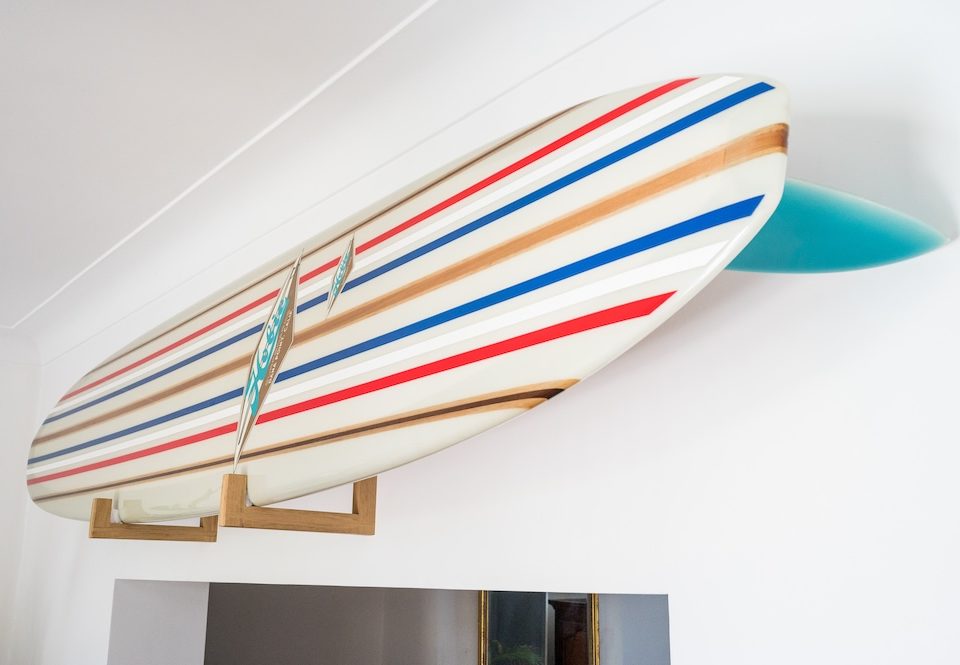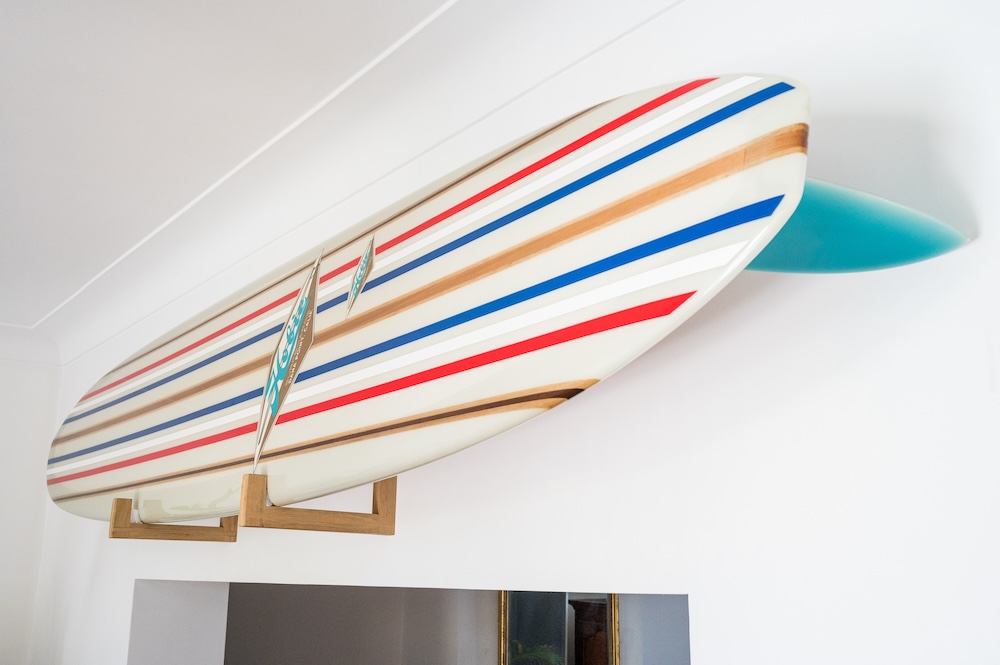
What Wood Should You Choose for a Surf Rack? The Wood Species Guide
7 August 2026
RIPITUP talks about us!
12 August 2026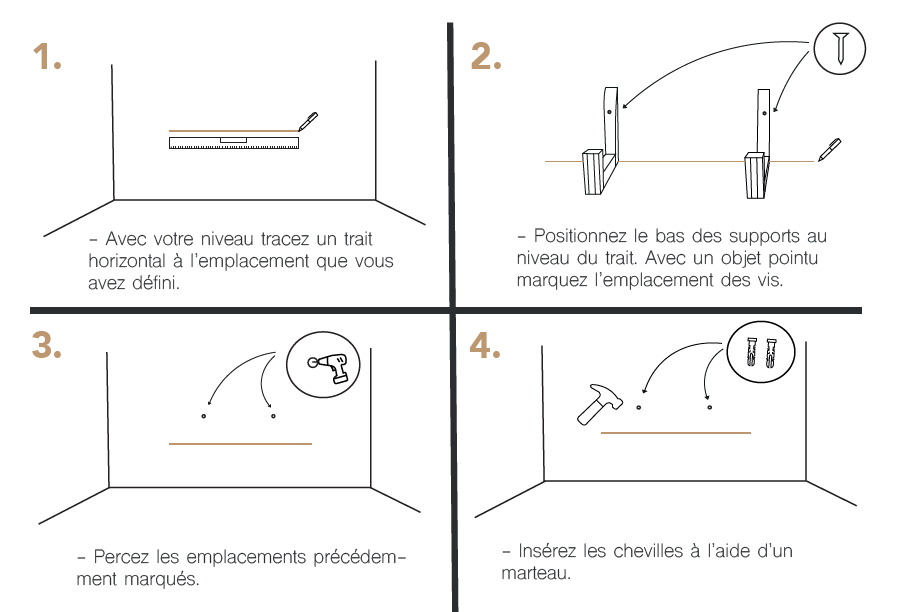
A wall-mounted surf rack that isn’t properly secured can quickly turn into an accident: a board falling, a damaged wall, or worse, an injury. The good news is that installing a surf rack correctly doesn’t require advanced DIY skills or professional tools, just the right steps in the right order.
This guide walks you through everything from assessing your wall to the final fitting, so you can install your rack safely and without any surprises.
What you’ll need
Before you start, gather these tools: a drill/driver, a stud/material detector (or a screwdriver to test the wall if you don’t have one), a spirit level, a pencil and tape measure, wall plugs suited to your wall type, and the surf rack with its included screws.
Step 1: Identify a suitable wall
Before drilling, you need to identify what your wall is made of. There are generally three scenarios.
A solid concrete or brick wall is the strongest option, suitable for any rack size, including heavier boards like a paddleboard.
A plasterboard wall with a metal frame requires screwing directly into the metal studs rather than the plasterboard alone, which won’t support the weight of a board over time.
Plasterboard with no accessible frame requires specific expanding plasterboard plugs, and you must strictly respect their maximum load as stated by the manufacturer.
Step 2: Choose the right wall plugs
The choice of wall plug depends directly on your wall type: chemical or expansion plugs for concrete, standard expansion plugs for solid brick, toggle or chemical plugs for hollow brick or breeze block, screws directly into the stud for plasterboard with a metal frame, and Molly-type plugs for plasterboard with no reinforcement.
A standard surfboard weighs between 3 and 5 kg, but a paddleboard can weigh over 10 kg: always check that the maximum load of your chosen wall plug comfortably exceeds the weight of your board, with a safety margin included.
Step 3: Determine the ideal height and spacing
There’s no universal height, but a few benchmarks can help. For a decorative display of a single board, a height between 1.20 m and 1.60 m from the floor generally shows the board off well. For a vertical multi-board rack in a garage, leave at least 15 to 20 cm between each support so the boards can be handled without scratching each other. Also check that the board, once mounted, doesn’t obstruct a walkway or high-traffic area.
Step 4: Mark and check for level
Hold the rack against the wall in the chosen spot and mark the drilling points with a pencil. Always use a spirit level before drilling: a slightly tilted rack isn’t just a cosmetic issue, it can unbalance the weight distribution of the board and accelerate wear on one side of the support.
Step 5: Drill and fix
Drill at the marked points with a bit matching the diameter of your chosen wall plug, insert the plugs, fix the rack by tightening the screws gradually rather than fully on one side first to avoid misaligning the support, then check stability by applying light pressure before placing your board.
The most common mistakes to avoid
Fixing only into plasterboard without reinforcement or a suitable plug remains the number one cause of a rack falling after a few weeks. Skipping the spirit level weakens the fixing over time. Undersizing the wall plugs for a paddleboard or several boards on the same vertical rack is also risky, as is drilling without checking for electrical cables or pipes, particularly in partition walls.
Do you always need to drill?
In the vast majority of cases, yes: it’s the only method that guarantees a stable fixing over time, especially for boards weighing several kilos. Drill-free solutions exist, but they’re only suited to very light, temporary setups and aren’t appropriate for daily use.
Frequently asked questions
Can I install a surf rack without drilling the wall?
Drill-free solutions exist, but they’re only suited to very light, temporary setups. For a durable installation, drilling with suitable wall plugs remains the most reliable method.
What’s the ideal height for a wall surf rack?
For a decorative display of a single board, aim for roughly 1.20 m to 1.60 m from the floor. For a vertical multi-board rack, adapt the total height to the space available and ease of access.
How do I know if my wall can support the weight of a board?
A solid concrete or brick wall easily supports the weight of a surfboard or paddleboard. For plasterboard, aim for a metal stud or use wall plugs rated for the appropriate load.
How long does it take to install a wall surf rack?
For a simple rack on a load-bearing wall, allow around 20 to 30 minutes, including locating studs and drilling. A multi-board rack or a partition wall requiring precise stud-finding may take a little longer.
Do I need specialist tools to install a surf rack?
No, a standard drill/driver, a spirit level, and wall plugs suited to your wall are enough for the vast majority of installations.
Conclusion
Installing a surf rack correctly only takes a few simple precautions: correctly identify your wall type, choose the right wall plug, check it’s level, and respect the recommended maximum load. A careful installation protects both your wall and your board for years to come.